
For once, this post will be a bit more about assembling existing stuff rather than building something from scratch, but I hope you still enjoy it!
I've wanted to build something for a long time that I could plug into any laptop or PC, select as a sound card, and have my audio broadcasted on FM with minimal delay. I already tried building it in the past, but failed. This time, I succeeded, and I'll document the process here.
Getting the Hardware Ready
For the hardware, I chose to go with a Raspberry Pi Zero W, for a few reasons:
- It can broadcast radio. A small hack on its general purpose clock lets us broadcast FM radio at low power.
- It's cheap — costing about $20.
- Finally, it can run in gadget mode, meaning we can communicate with it over the same USB port that powers it.
Installing the OS
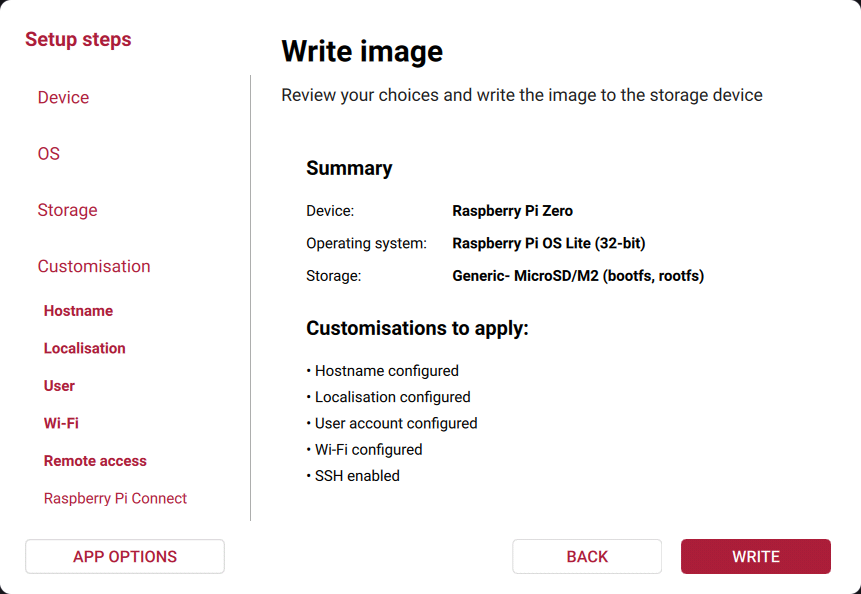
Since the RPI is a small computer, it needs an operating system to work. To install it, I first ran the Raspberry Pi Imager on my laptop and flashed an 8GB MicroSD card with Raspberry Pi OS Lite 32-bit. I skipped the desktop version since I won't need it for this task.
I made sure to set it up to connect to WiFi and enable SSH so I could connect remotely.
Setting Up the Software
Once the MicroSD card was flashed, I booted the RPI with it and waited for it to connect to my WiFi. Once it did, I logged in via SSH and ran updates:
$ sudo apt update && sudo apt upgrade -y
Once that was done, I installed some software you might already know if you've read my other articles, such as the DS radio broadcaster or the web-to-fm one: BotWave.
Basically, it lets you broadcast FM from a Pi while automating actions, enabling remote control, bla bla bla. Here, we'll just use it to bridge the incoming audio to FM.
$ curl -sSL botwave.dpip.lol/install | sudo bash -s -- client --no-alsa

$ sudo bw-local --version
BotWave local v1.2.8-nymania, protocol 2.1.4
Once installed, I set up the piece that actually bridges the audio between my PC and the Pi: g_audio. It is the Linux USB Audio Gadget driver, a kernel module that turns a Linux-powered device into a virtual USB sound card when connected to a host computer.
In simpler terms, it lets two computers send sound to each other with no complicated setup.
To enable it on a RPI Zero, we need to follow a few steps:
1. Boot the Pi as a Gadget
By default, a RPI Zero's USB port runs in host mode, meaning it acts like any regular USB port: it can read data, but that's about it. We don't want that. USB is asymmetric by nature: in any connection, there's always a "host" and a "device", and the device gets controlled by the host. One of the RPI Zero series' big advantages is its onboard Synopsys DesignWare USB2 controller, or dwc2 for short. It's a piece of hardware capable of physically switching between host and device mode, meaning our Pi can become a USB device that exposes an audio interface to the host — our PC, in this case. This is also why most other Pis can't do this: they lack the hardware required to make that switch.
We can switch modes by editing a couple of boot files:
The first file to edit is /boot/firmware/config.txt. At the end, in the [all] section, add a dtoverlay=dwc2 line:
[all]
enable_uart=1
dtoverlay=dwc2
Then, in /boot/firmware/cmdline.txt, add modules-load=dwc2 at the end of the existing line. Make sure everything stays on a single line.
2. Configure g_audio
Once the Pi boots as a gadget, we should be able to load the g_audio kernel driver, which bridges audio between the Pi and the PC. More technically, now that our Pi acts as a USB device, we're able to expose a USB Audio Class (UAC) interface — a set of standard USB descriptors that any host operating system can recognize.
To configure it properly, I first created /etc/modprobe.d/g_audio.conf, with the following content:
options g_audio c_chmask=3 p_chmask=0 c_srate=48000
These lines set the default options for g_audio:
-
c_chmask=3: we want to capture audio from the PC on two channels (stereo). -
p_chmask=0: we don't want to play back any audio to the PC, so0. -
c_srate=48000: audio sample rate, matching BotWave's recommendations.
3. Starting Everything on Boot
Finally, I configured everything needed so BotWave automatically starts capturing audio and broadcasting on boot. This can be done by creating a l_onready.hdl file with sudo bw-nandl l_onready.hdl, and writing the following content to it:
# start the audio gadget
< modprobe g_audio

# configure the ALSA settings to capture audio from the created card
set ALSA_INTERFACE plughw
set ALSA_CARD UAC2Gadget
set ALSA_DEVICE 0

# optional broadcast settings
set DEFAULT_PS PiRadio
set DEFAULT_RT "A small radio gadget"
set DEFAULT_FREQ 88

# start the live broadcast
live
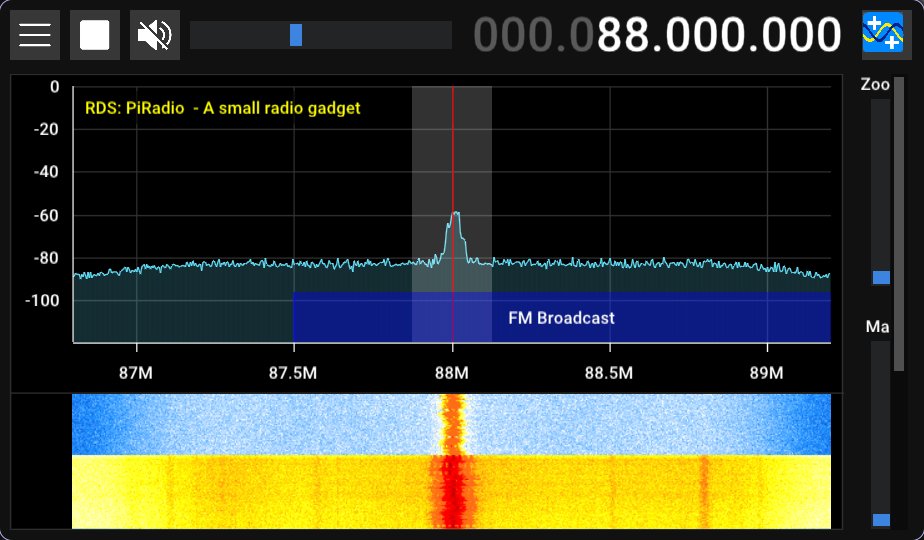
With this file in place, every time BotWave starts, it runs each command listed here — in short, starting the audio gadget and a live broadcast on 88MHz.
The last step is making BotWave start on boot:
$ sudo bw-autorun local
And Done!
And that's it — everything should work now. Let's shut down the Pi and plug it into a laptop.
Once it's had time to boot, a new audio device is automatically registered:
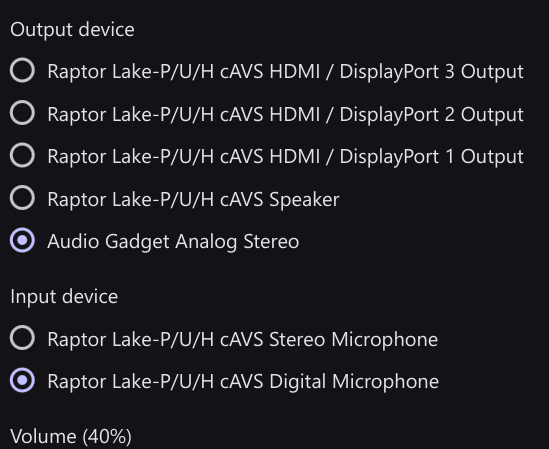
Selecting it and sending audio to it automatically broadcasts that audio on FM, with minimal delay (around 0.5s measured):
JdM · 2026-10-20 15:12:29
Anything but Turning a Raspberry Pi Zero Into a Usable Computer .
Eliasd · 2026-09-23 17:31:07
Bro can I use my rpi3 instead?
Douxxtech · 2026-09-23 22:11:19
Sadly not! The pi 3 doesn't have the hardware that allows the pi zero family to become a USB device